Dense Liquids Layering Study in Scientific Research
**Proper Pouring Technique for the Liquid Layers Density Experiment**
To create a visually striking and educational experience with the Liquid Layers Density Experiment, it's essential to pour each layer slowly and carefully to prevent mixing. This article will guide you through a step-by-step technique for a successful outcome.
**Step-by-Step Technique**
1. **Pour the densest liquid first.** Start with the base layer, such as honey or 100% pure maple syrup or corn syrup, due to their high density.
2. **Use a spoon or drinking straw** for layers after the base. Place the spoon just above the surface of the previous layer, then slowly pour the next liquid onto the back of the spoon or down the inside edge of the container. This technique helps the liquid flow gently onto the surface, reducing splashing and mixing.
3. **Tilt the container slightly** while pouring. This can further help the liquid stream flow smoothly and not "plunge" directly into the previous layer.
4. **Add layers one at a time** and wait until each is settled before pouring the next. Rushing can cause mixing.
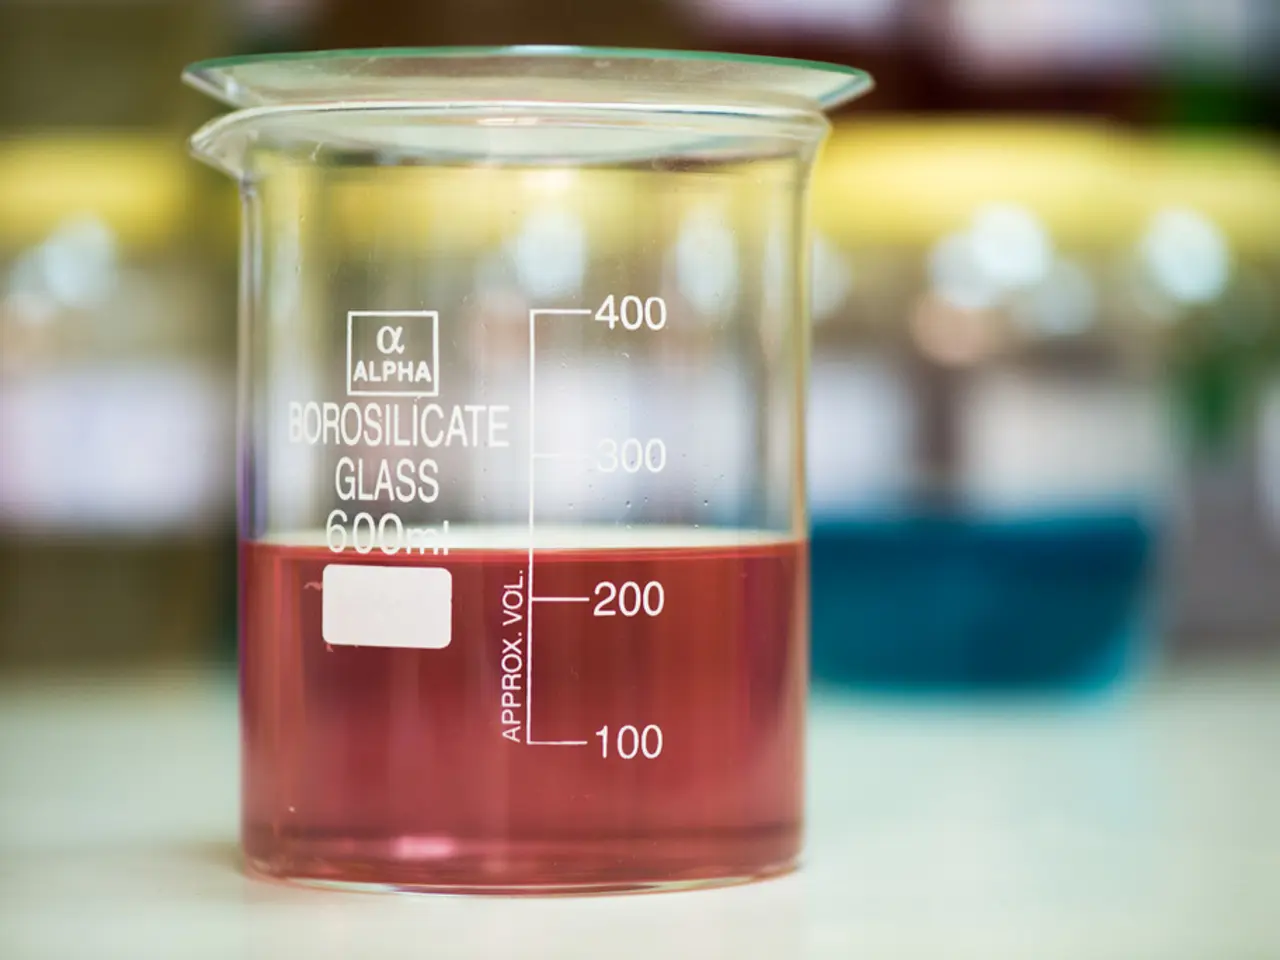
5. **Use a clear glass or jar** so you can see and control the process more easily.
**Additional Tips**
- If mixing accidentally occurs, let the container sit undisturbed. With time, the liquids may naturally separate due to their different densities. - When demonstrating with liquids like oil and water, pour the lighter liquid (oil) last, and it will quickly separate and rise to the top.
**Visual Overview Table**
| Layer | Pouring Method | Tool Used | |--------------|-----------------------------------------------|----------------------| | Honey | Pour directly, no need for spoon | — | | Corn Syrup | Pour slowly over spoon | Spoon/Straw | | Dish Soap | Pour slowly over spoon | Spoon/Straw | | Water | Pour slowly over spoon | Spoon/Straw | | Oil | Pour slowly over spoon (if included) | Spoon/Straw |
**Summary**
The key to success is slow, gentle pouring onto a spoon or down the container’s side for layers after the base, allowing each liquid to settle before adding the next. This minimizes mixing and creates sharp, distinct layers for a visually striking experiment.
Join Erica from What Do We Do All Day? each Thursday this summer for a free Summer Science Camp, where we're sharing classic science experiments that your kids will love! Head over to see the Homemade Compass they made this week! Don't let the fun and discovery stop there – visit our Super Cool Science Experiments for Kids page for plenty more experiments to explore.
- Science experiments like the Liquid Layers Density Experiment not only offer fascinating visuals but also aid in understanding principles of science, making them a valuable tool for education-and-self-development and learning.
- By following the proper pouring technique for the Liquid Layers Density Experiment, which includes pouring layers slowly, using a spoon or straw, and tilting the container slightly, one can enhance their fitness-and-exercise skills, as the process requires patience and precision.
- Connecting the Liquid Layers Density Experiment to other subjects, such as health-and-wellness, could show how the principles involved are also relevant in our daily lives, like understanding the dietary effects of different foods with varying densities.


